


Monthly Deals
-
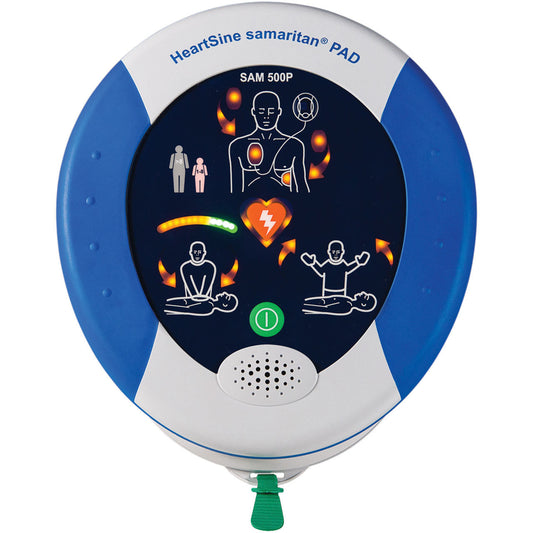
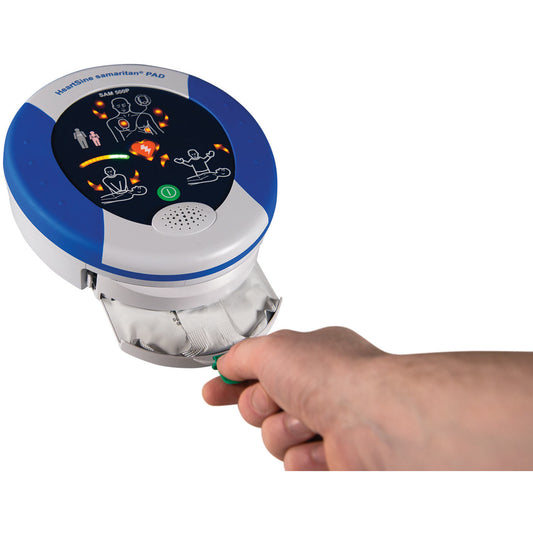
HeartSine Samaritan PAD 500P Semi Automatic AED Defibrillator with Carry Case
Vendor:HeartSineRegular price £750.00 ex.VAT
Regular priceUnit price per£1,331.99Sale price £900.00 inc.VAT
£750.00 ex.VAT18 in stockSKU:500-BAS-XXSale -
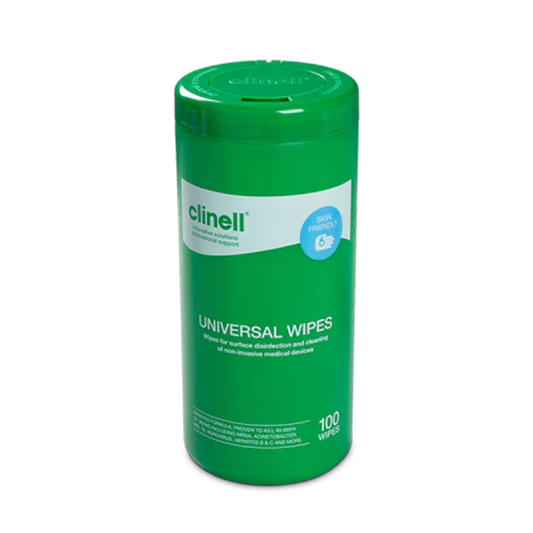
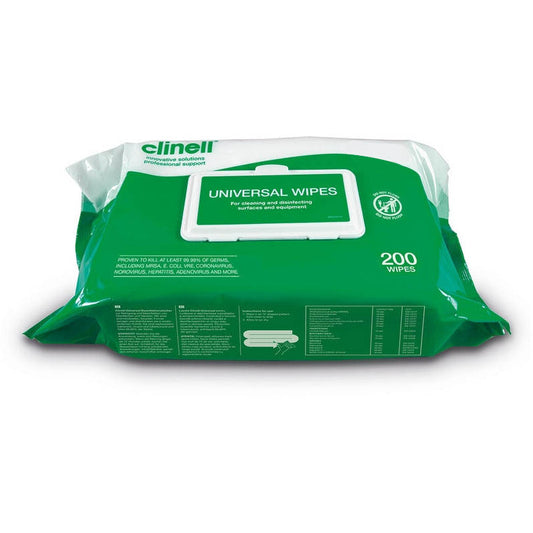
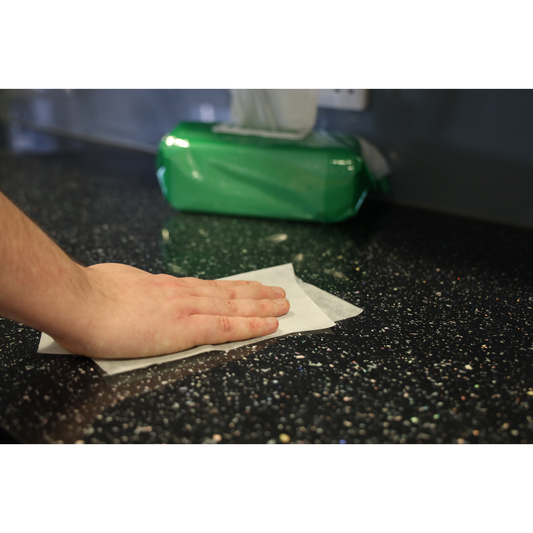
Clinell Universal Sanitising Wipes x 100
Vendor:ClinellRegular price £3.99 ex.VAT
Regular priceUnit price per£4.55Sale price £4.79 inc.VAT
£3.99 ex.VAT100+ in stockSKU:GCWTUB100 -
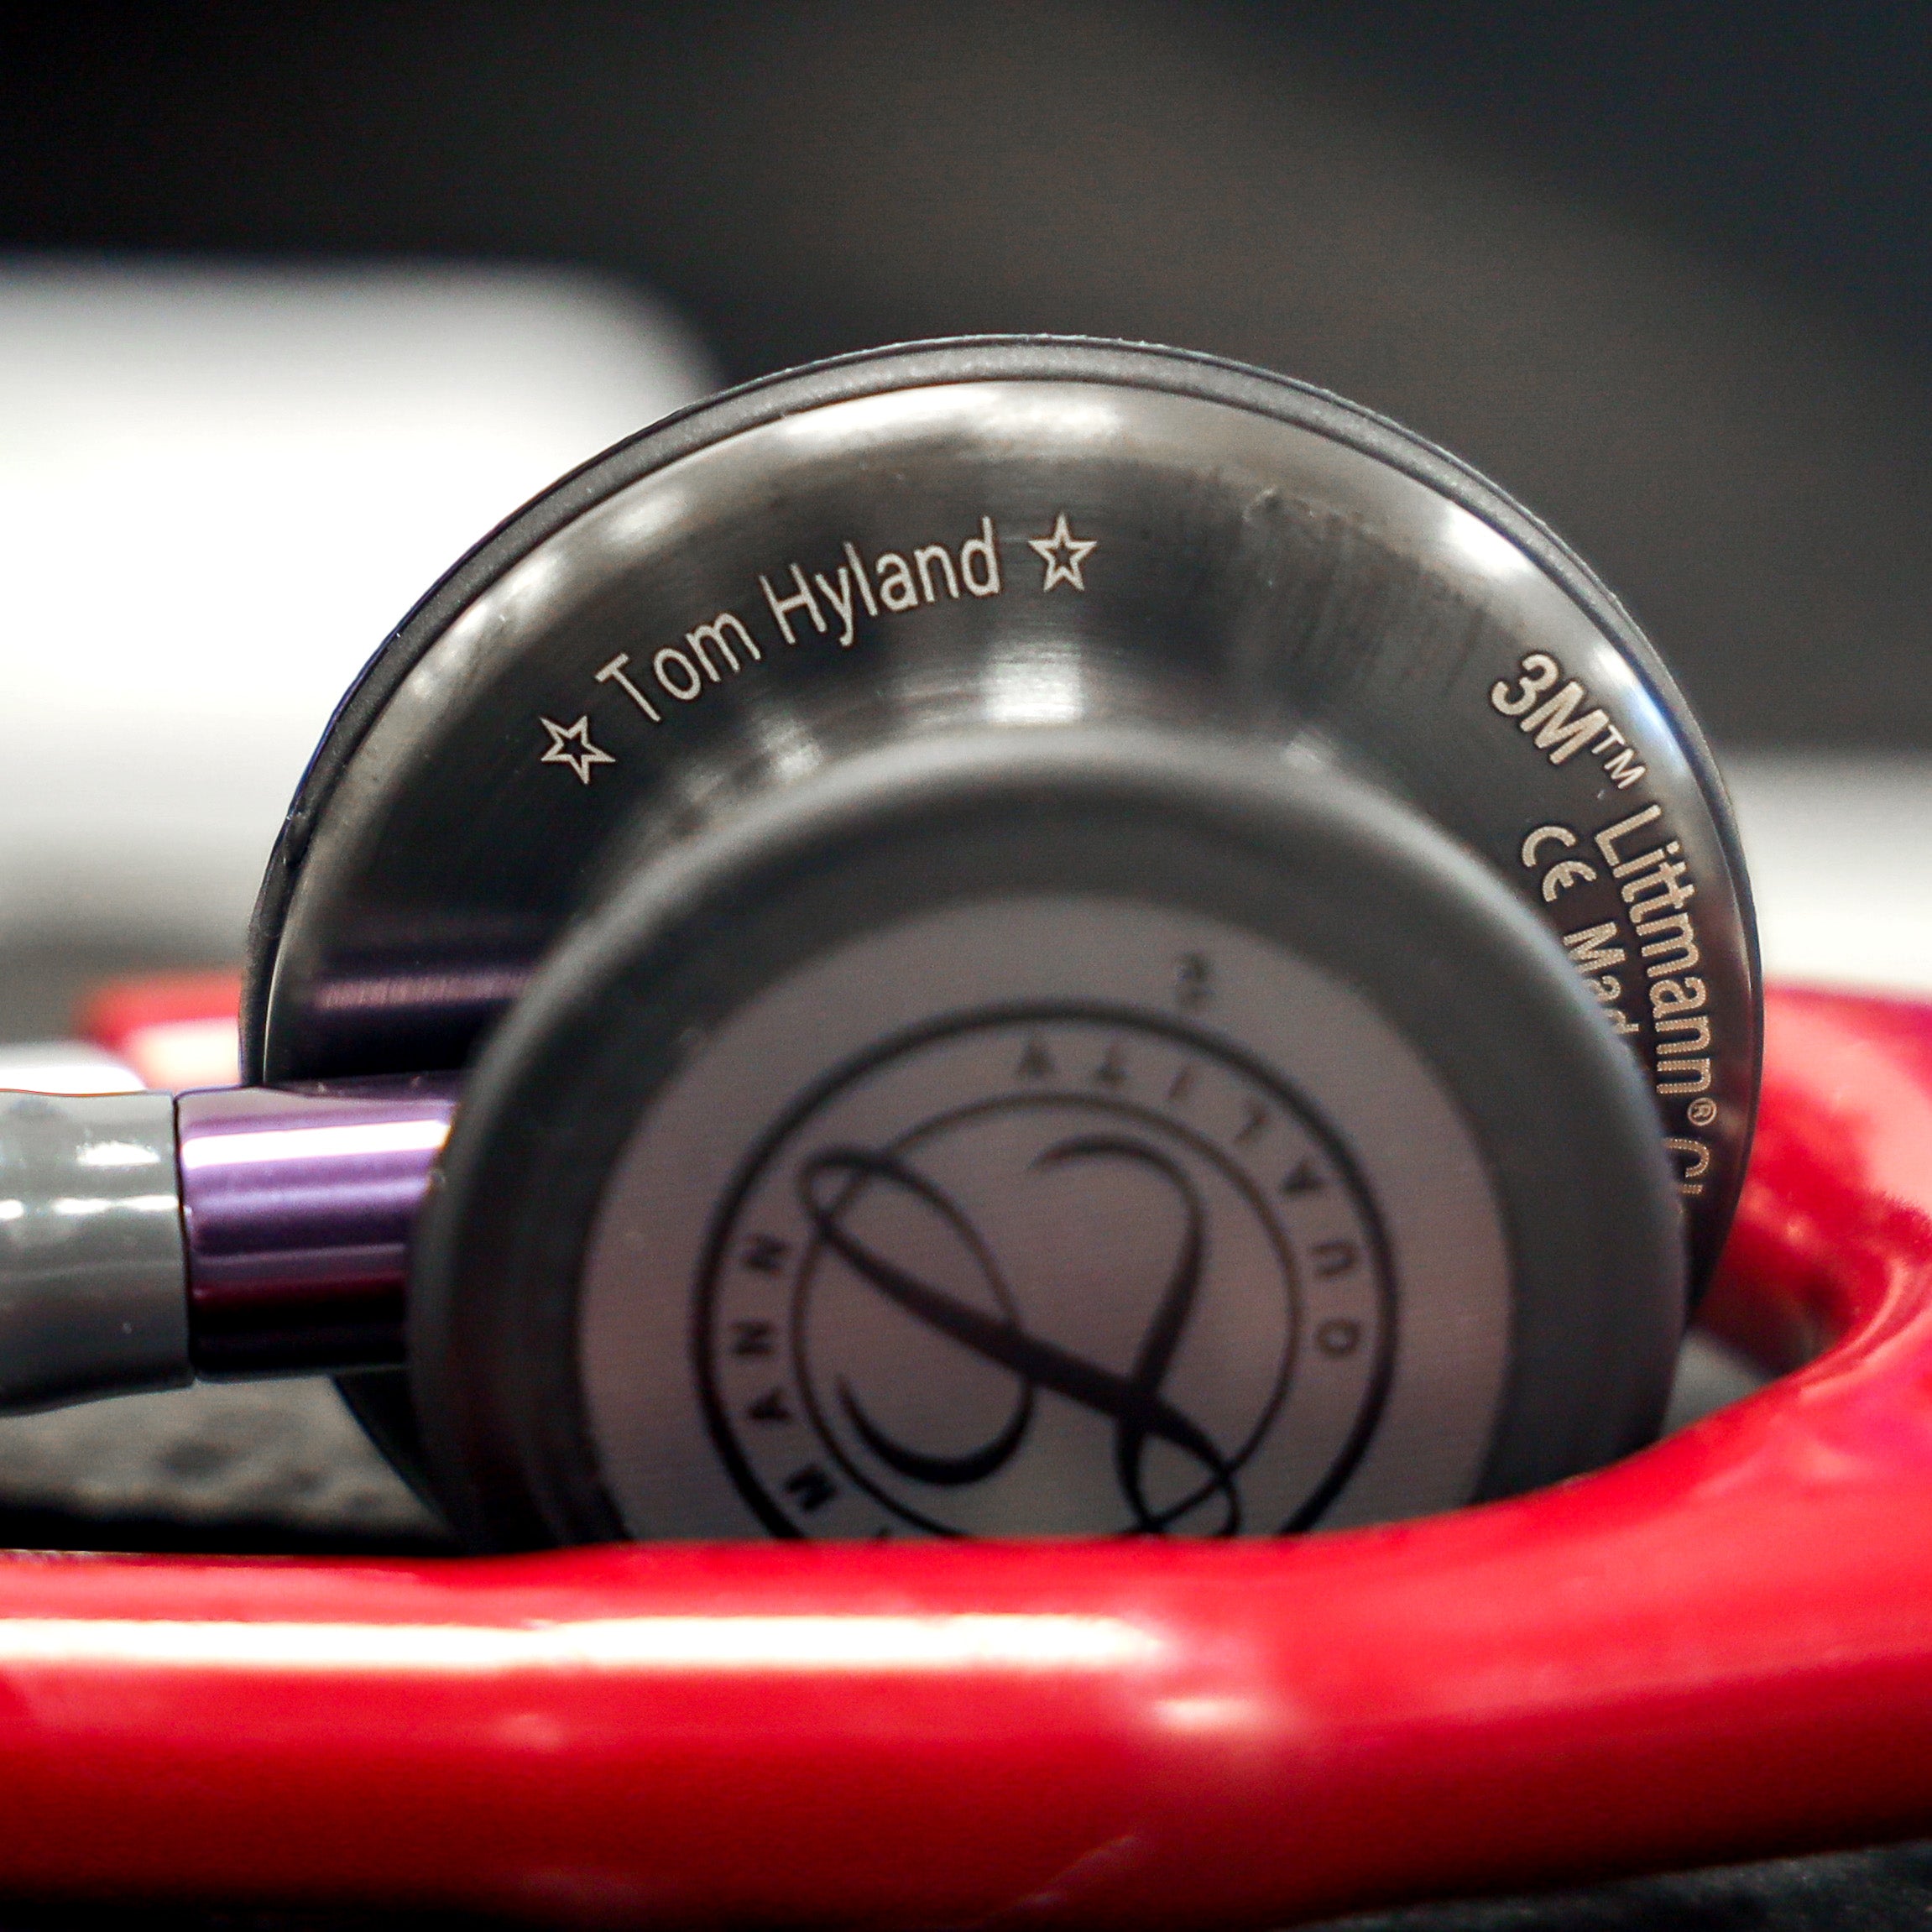
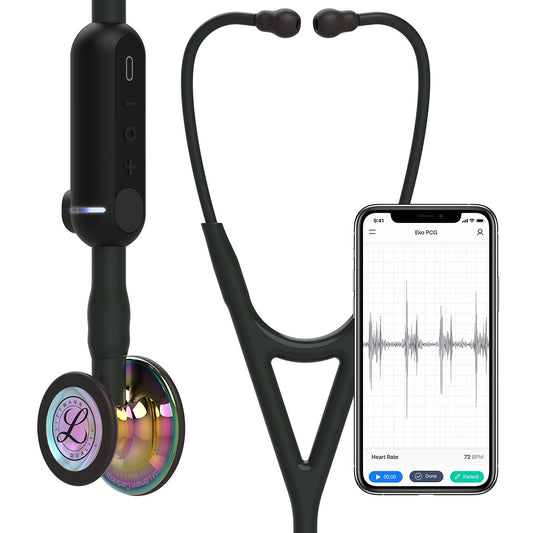
Littmann CORE Digital Stethoscope 8572 - High Polish Rainbow
Vendor:Littmann StethoscopesRegular price From £249.99 ex.VAT
Regular priceUnit price per£335.99Sale price £299.99 inc.VAT
From £249.99 ex.VATBACKORDERSKU:8572Sale -
Flowflex Lateral Flow Test SARS-CoV-2 Antigen Rapid - 5 Tests [COVID Test - Acon]
Vendor:FlowflexRegular price £3.99 ex.VAT
Regular priceUnit price per£5.99Sale price £4.79 inc.VAT
£3.99 ex.VAT100+ in stockSKU:LO31-118P5Sale -
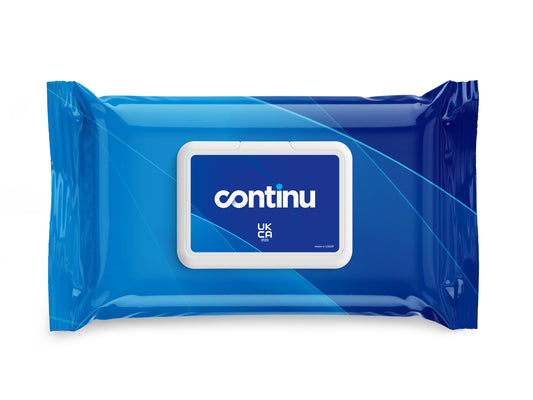
Continu 2 in 1 Wipes - Pack of 200
Vendor:ContinuRegular price £4.29 ex.VAT
Regular priceUnit price per£0.00Sale price £5.15 inc.VAT
£4.29 ex.VAT22 in stockSKU:USL-7007FP/SINGLE -
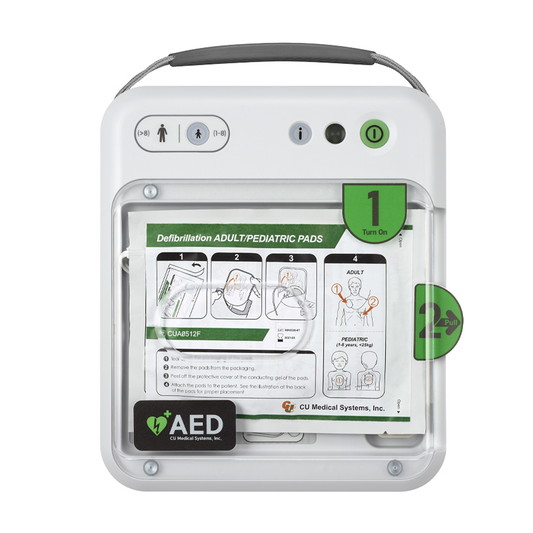
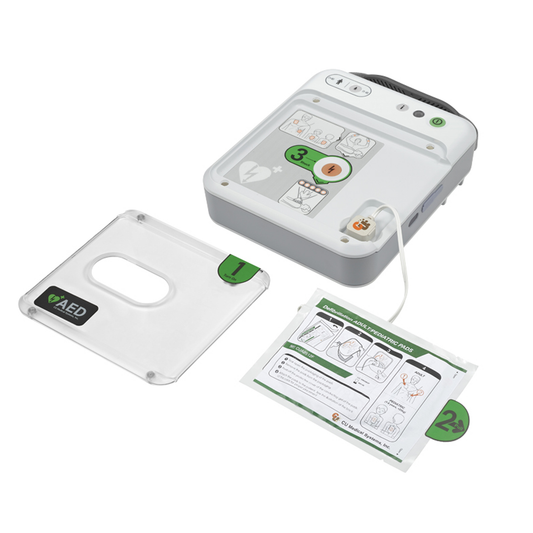
iPAD NFK200 Semi-Automatic Defibrillator
Vendor:IpadRegular price £749.00 ex.VAT
Regular priceUnit price per£0.00Sale price £898.80 inc.VAT
£749.00 ex.VAT16 in stockSKU:63702 -
Clinell Wipes CW200 Universal Sanitising Anti-Bacterial x 200
Vendor:ClinellRegular price £5.79 ex.VAT
Regular priceUnit price per£5.99Sale price £6.95 inc.VAT
£5.79 ex.VAT100+ in stockSKU:CW200 -
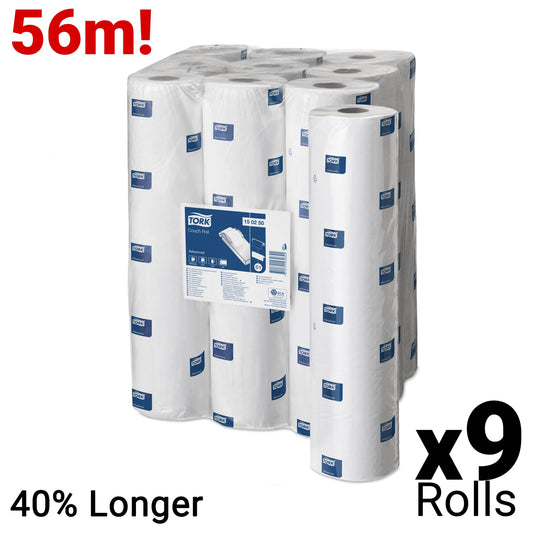
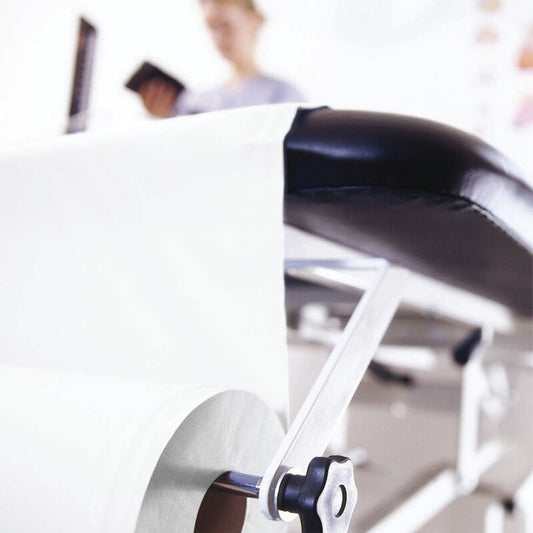
Tork Couch Roll Advanced White 2 Ply - 150250 - Case of 9 Rolls - 48cm/19" x 56m
Vendor:TorkRegular price £29.99 ex.VAT
Regular priceUnit price per£0.00Sale price £35.99 inc.VAT
£29.99 ex.VAT100+ in stockSKU:150250 -
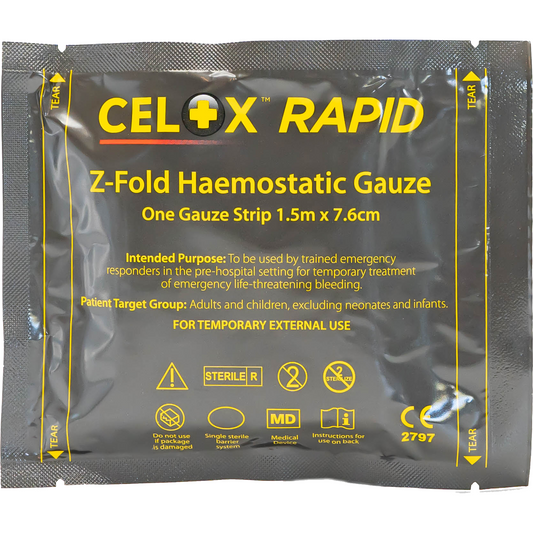
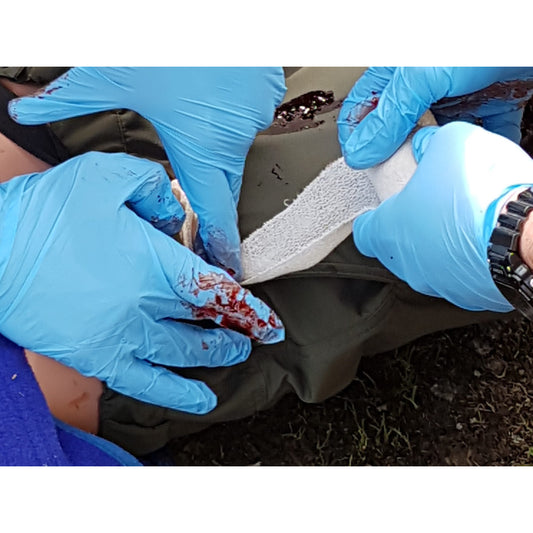
Celox Rapid Haemostatic Gauze - 5ft Z-Fold
Vendor:CeloxRegular price £25.75 ex.VAT
Regular priceUnit price per£0.00Sale price £30.90 inc.VAT
£25.75 ex.VAT100+ in stockSKU:FG08839011 -
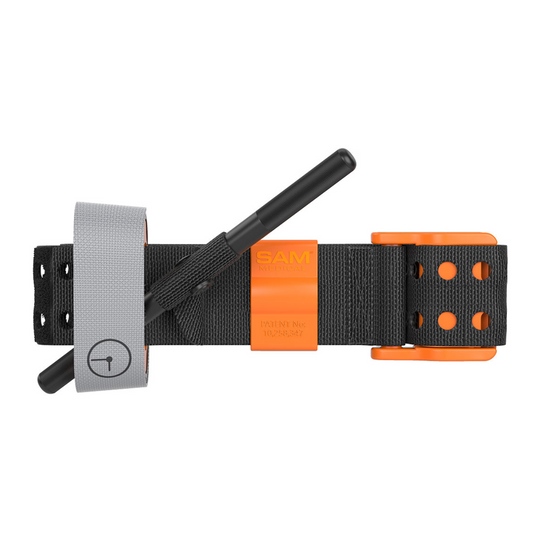
SAM® XT Extremity Tourniquet - Black & Orange
Vendor:SAM MedicalRegular price £24.99 ex.VAT
Regular priceUnit price per£0.00Sale price £29.99 inc.VAT
£24.99 ex.VAT89 in stockSKU:XT600-OR-EN -
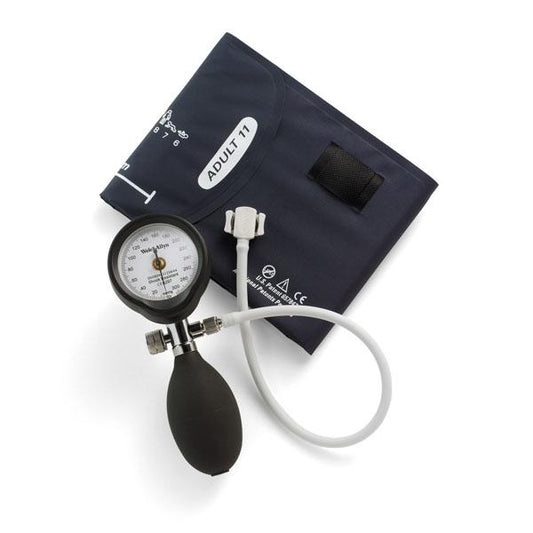
Welch Allyn DuraShock DS54 Sphygmomanometer
Vendor:Welch AllynRegular price From £49.99 ex.VAT
Regular priceUnit price per£0.00Sale price £59.99 inc.VAT
From £49.99 ex.VAT100+ in stockSKU:DS54-01-189 -
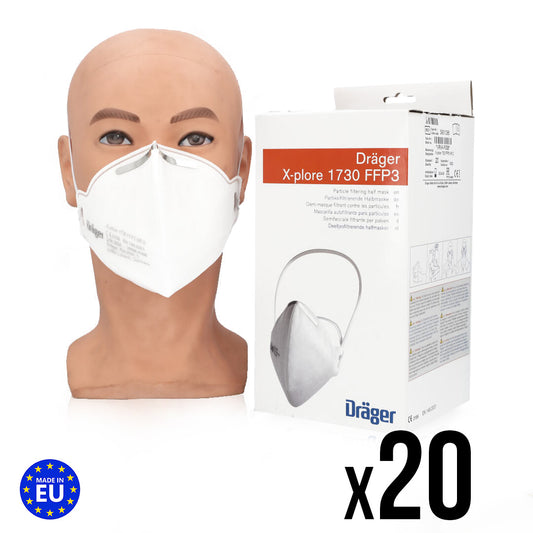
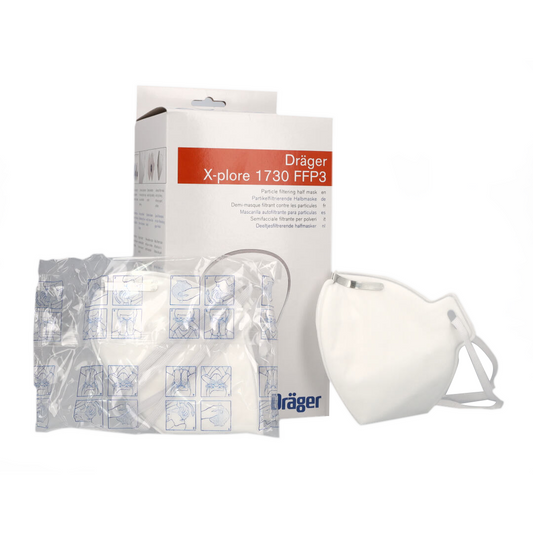
Drager FFP3 Unvalved Respirator Mask - Box of 20
Vendor:DragerRegular price £5.99 ex.VAT
Regular priceUnit price per£17.99Sale price £7.19 inc.VAT
£5.99 ex.VAT14 in stockSKU:3951086Sale


![Flowflex Lateral Flow Test SARS-CoV-2 Antigen Rapid - 5 Tests [COVID Test - Acon]](http://www.medisave.co.uk/cdn/shop/files/oldx5.png?v=1694689121&width=533)


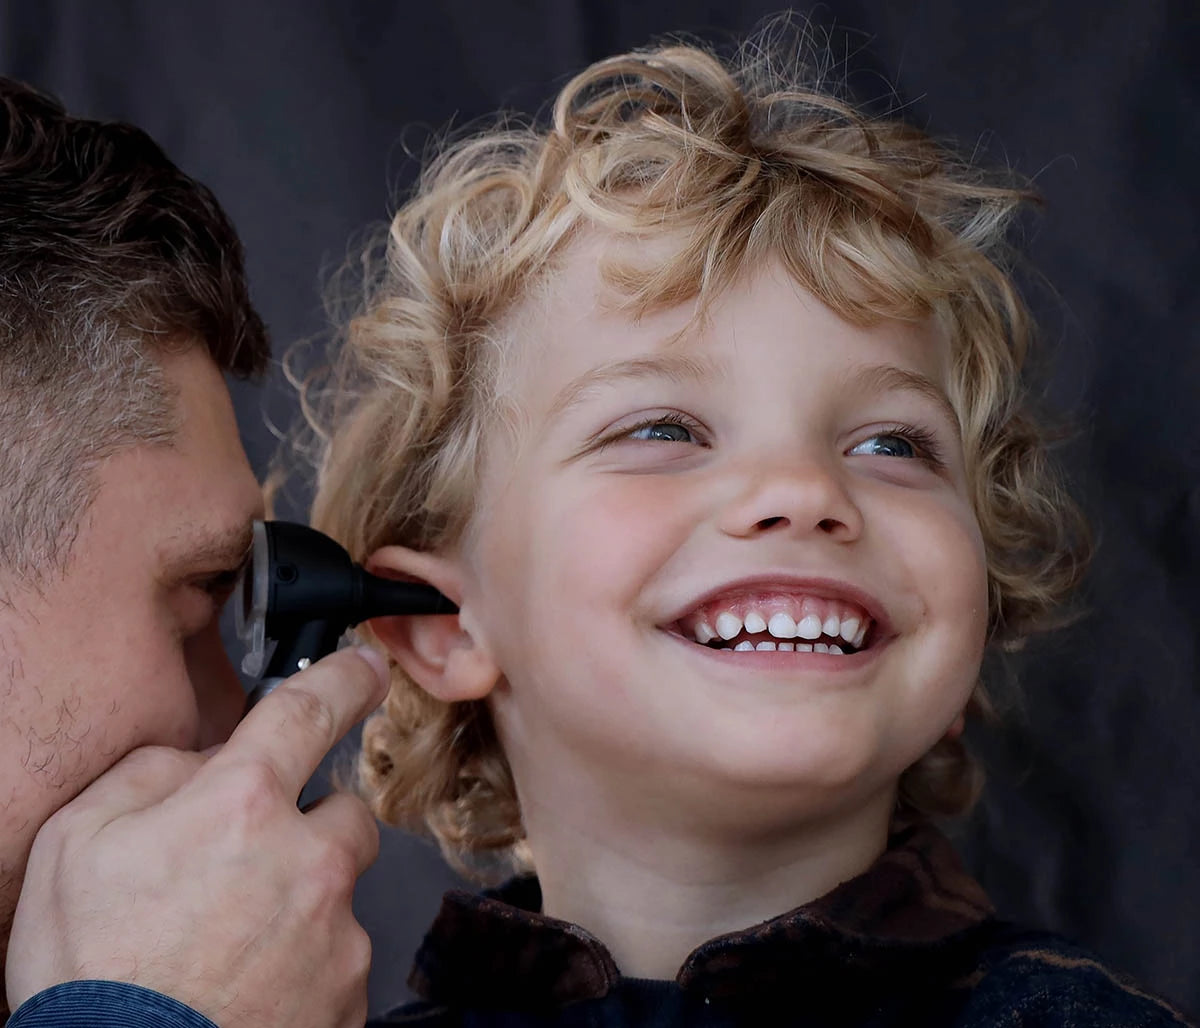
Diagnostic Sets
The Medisave diagnostic range is packed full of the very best medical...

New Products
Here at Medisave we are dedicated to offering our customers the best...

Buy Littmann Stethoscopes – 3M Classic, Cardiology, CORE. Welch Allyn Diagnostic Sets and Otoscopes / Ophthalmoscopes from Keeler, Heine & Riester, Scrubs, Nursing Uniforms and Shoes
Medisave specialises in hospital, GP surgery, medical students, nursing homes and general medical supplies through to HSE First Aid Kits. Our range includes Littmann stethoscopes, Welch Allyn otoscopes, diagnostic sets and a comprehensive range of medical disposables including medical latex gloves and celox haemostatic gauzes.
We are UK authorised distributors for many manufacturers including 3M Littmann stethoscopes, Welch Allyn diagnostic otoscope sets, Seca medical scales, Labcold fridges, Lec fridges, Sunflower furniture, Keeler otoscopes, Heine diagnostics and Celox.
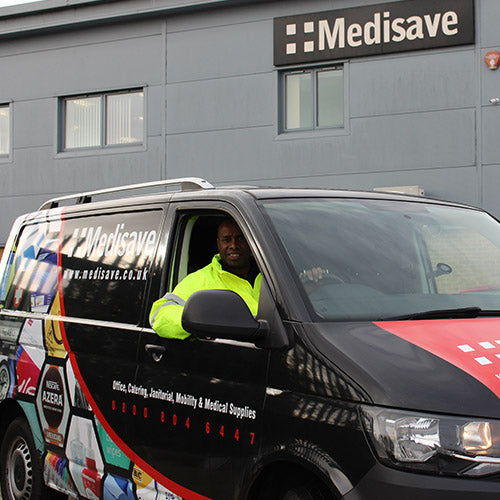
We welcome orders from anyone! We can accept orders from most major credit/debit cards through our secure credit card systems, or if you prefer to order over the phone, then please call on 0800 804 6447. We also accept 30 day account invoice orders for all NHS, surgeries, hospitals and companies. All you need to do is simply fax your official order through to FAX: 0800 8046448. We will process your order within 24 hours of receiving it.